General Options
This section host default options for the Theme. Those options can be overwritten with more specific options (such as blog options, pages options, authors options, etc.)
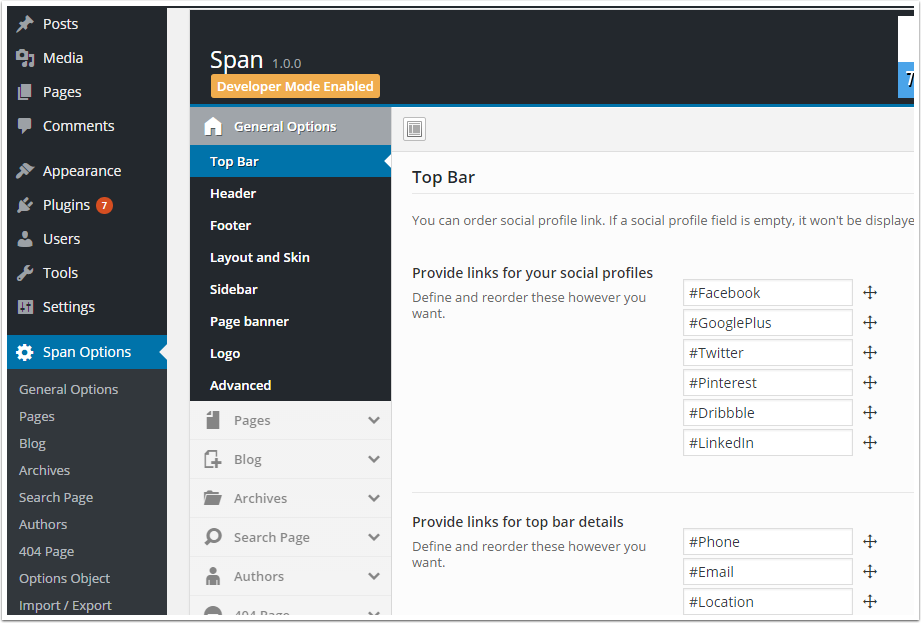
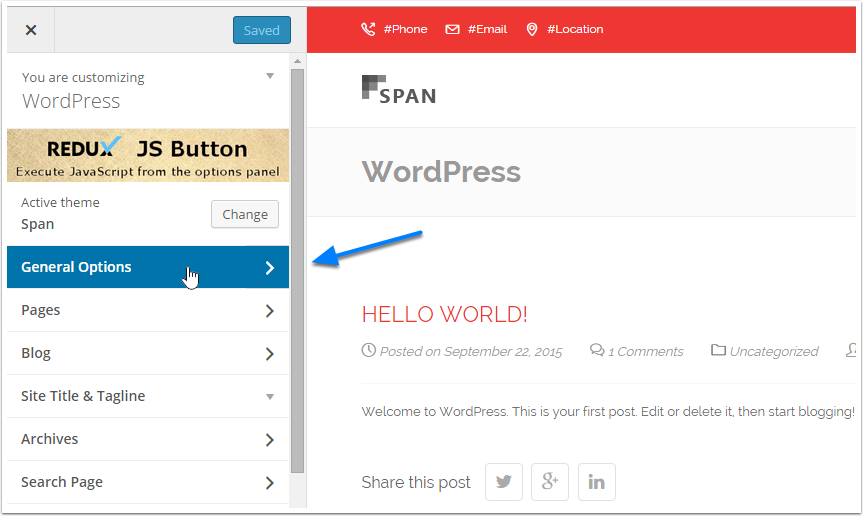
This section is available on Customizer Screen and on WordPress dashboard. This section host unique parameter on Sub sections.
On Dashboard
On Customizer Screen
How to customize TopBar

The TopBar is the bar located at the top edge of the web browser. This bar displays some usefull information such as Social Links, Contact details.
This TopBar can be managed from "General Options > TopBar" location on both Customizer and WordPress Dashboard.
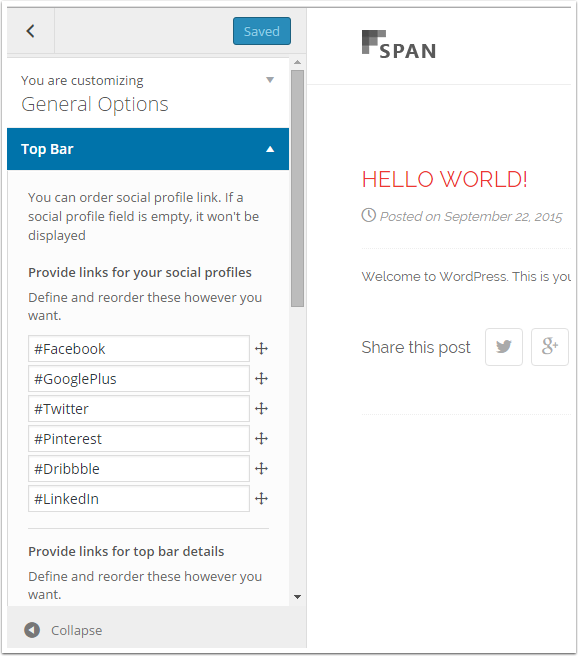
You can see that this section host 4 differents section.
1. Social Links
You can add up to 6 differents links to various social networks. If a fields is left empty (you may need to delete a hastag and replace it by the obverse social link) this social links will be ignored.
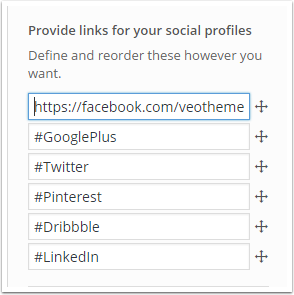
You can even drag links to order them as you need.
2. Contact Details
This section let you specify 3 differents contact information. Those fields has a hastag as value their represent the type of the information displayed. Remove the hastag and replace it by your obverse contact detail.
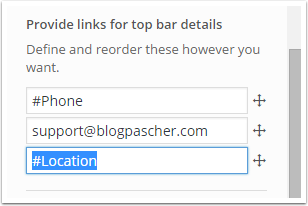
You can also drag theses fields.
3. Enabling TopBar
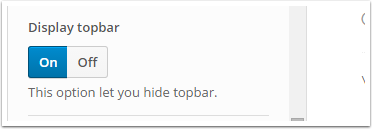
This title talks about himself, this seciton let you enable the topbar. As you may already know each option defined under "General Options", are used as default option. They can be ovewritten by more specific options.
4. Using Skin
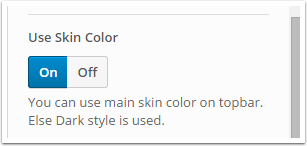
Span offer you various skin that can be applyied over your blog. If this option is set to yes, the TopBar will use Skin color as background, else Dark background will be used.
How to customize the Header
This section host options for header (with menu and logo)
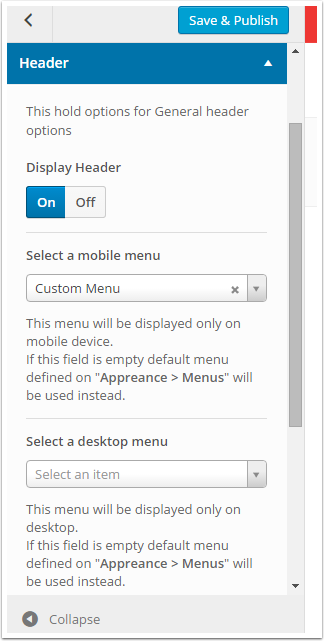
The first option (Display Header) let you enable Header Section.
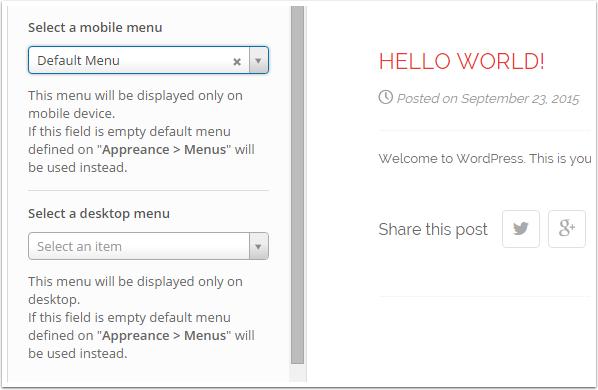
You can choose specific mobile menu and desktop menu. If those field a left blank, default menu defined on "Appearence > Menus" will been used instead.
Keep that in mind
If the following message is displayed "No items of this type were found.", you must create at least one menu on "Appearence > Menus". See this section from WordPress.org.
How to customize the footer
This section let you handle Footer options (it can be overwritten by more specific options). This sub section has unique parameters.
1. Footer Copyright
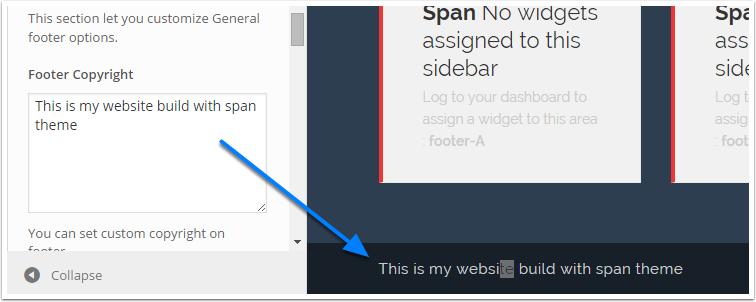
With this section, you can specify a unique Copyright, which will be displayed almost everywhere. This option can only be changed through "General Options".
2. Footer Menu
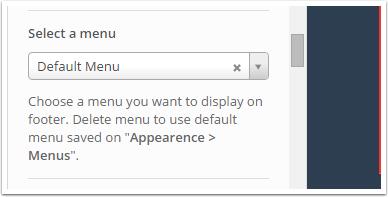
Span theme has 3 differents menus location. On footer there is also a footer location. You can use this feature to display a custom menu on your footer (at the edge). This options can been overwritten.
3. Color Palette
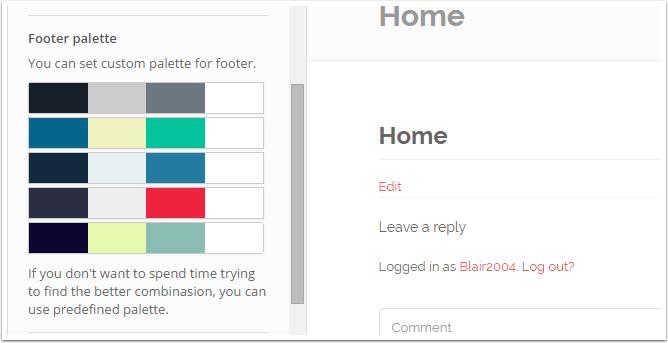
This option let you customize the footer. You can choose various color scheme that you want to apply on the footer, do it according to your theme skin.
4. Color Type
This option let you choose whether you want to use "Footer Palette" Colors or "Custom Colors Fields" to define footer color style.
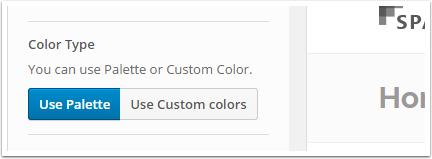
If you select, "Use Custom Colors", colors defined on those fields : Footer Background Color, Footer Text Color, Footer link Color, Footer Link Color on Hover will be used.
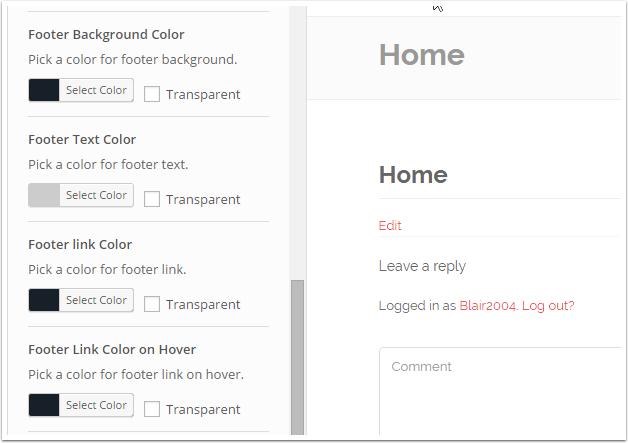
5. Change text color and footer padding
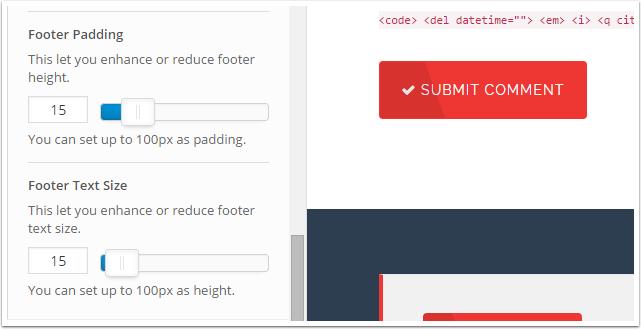
The following fields : Footer Padding and Footer Text size, let you change footer padding and footer text size.
How to change the layout and the skin
This section groups options about layout and skin. Those options can be ovewritten by more specific options.
1. Select the layout type
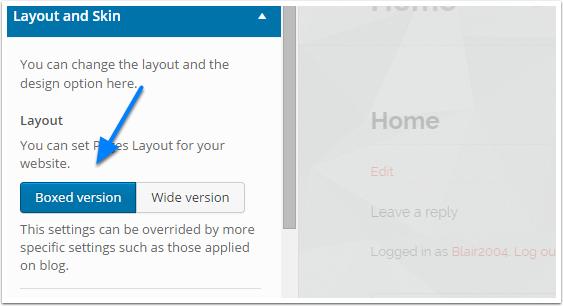
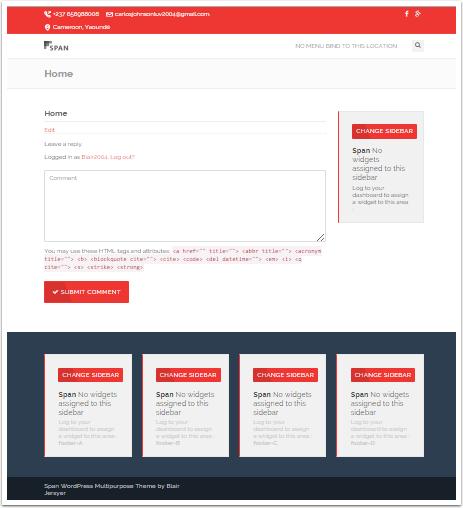
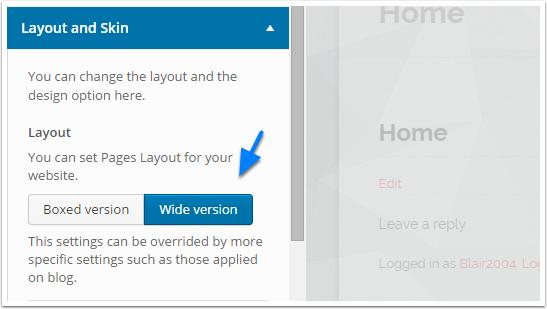
Span let you choose between the boxed version and the wide version.
Boxed Version :
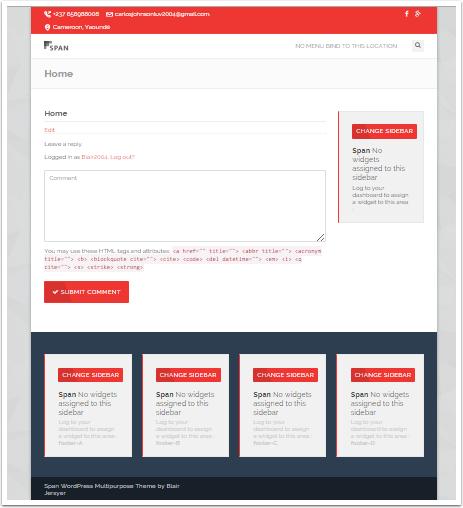
His option :
Wide Version :
His option :
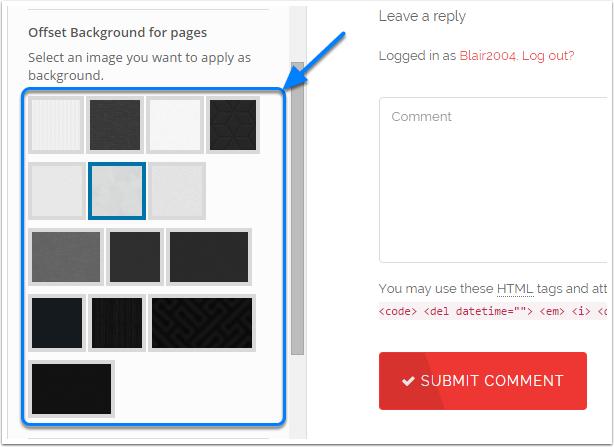
2. Choose background image for boxed version
If boxed version is selected, a background image (for left and right border) can be selected. This will add more vibes to the page. Span is build of 14 differents background.
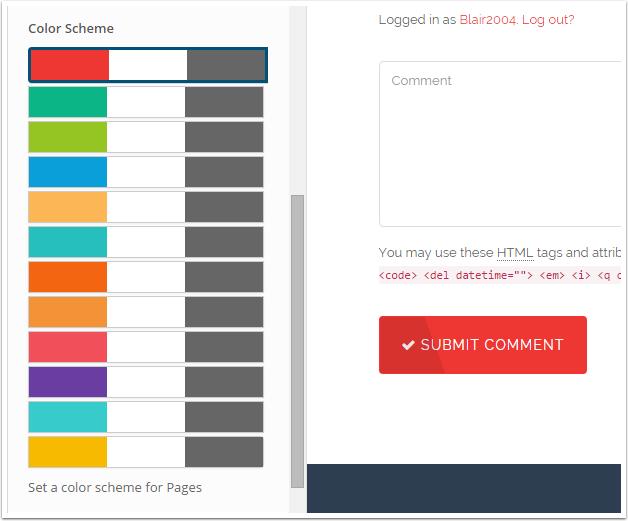
3. Select a Skin color
As it possible to choose a footer skin, it also possible to choose a page skin (this does'nt affect footer colors). Span is build of 12 differents skins :
How to change sidebars
Default WordPress sidebars options are used if no more specific options are set. This option is very usefull for specific options like : blog, pages, archives. You can set there differents sidebars according to your requirements.
1. Sidebar position
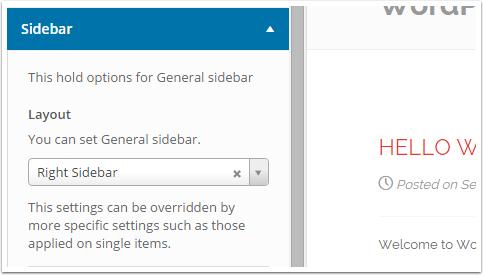
You can change the layout and choose to display a sidebar on the sides (left or right) or disable sidebar.
2. Choose a custom sidebar
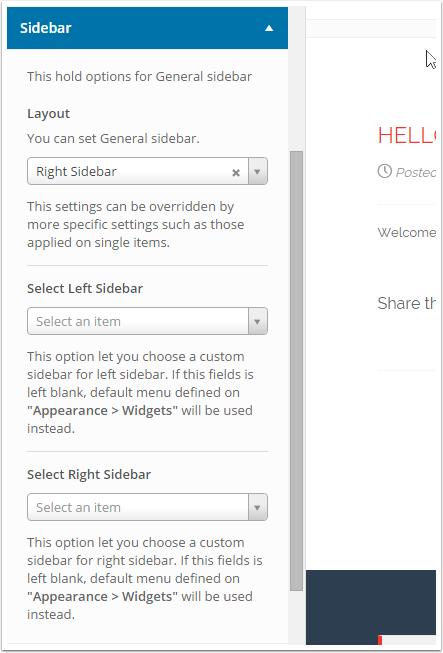
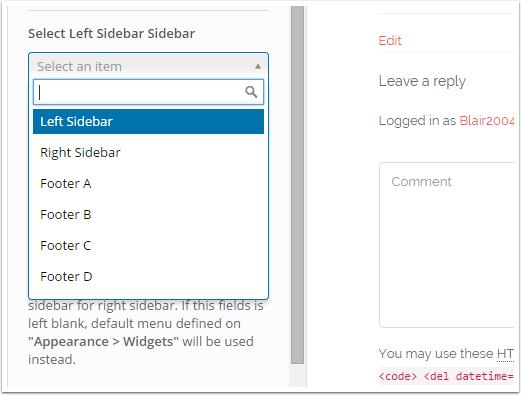
You can choose a custom sidebar (You can create sidebar from this screen "Appearence > Widgets"), and set it active in the left of right side.
How to control page banner
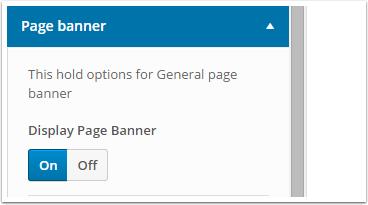
Page banner is horizontal banner which usually displays page title and breadscrumb.
1. Enable or disable Page banner
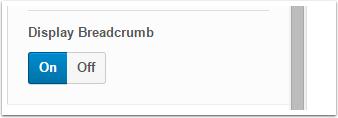
2. How to enable or disable breadcrumb
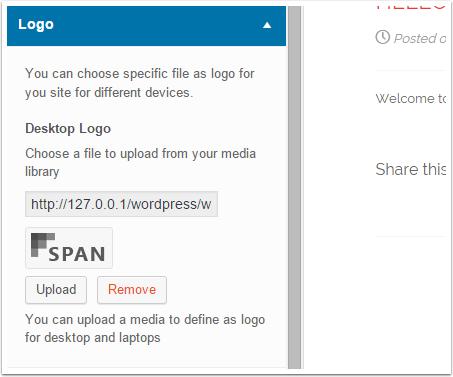
How to add logo
You can feature your brand by adding a logo on the page header.
Advanced Settings
This section is only available on General Options, and let you set advanced settings such as :
1. Enable or disable debug mode
When this mode is enabled, you can see a notice on each unused items. This let you be informed of any part of the theme which is not currently in use. Disabling this mode, will hide such notices.

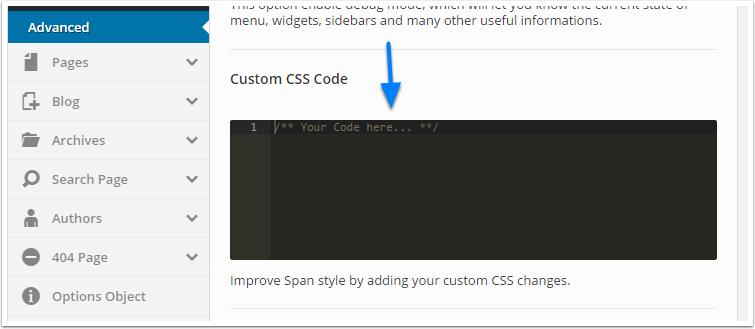
2. Adding Custom CSS Code
This field let you add more styles to the theme. It's using a pretty visual editor with syntax highlight.
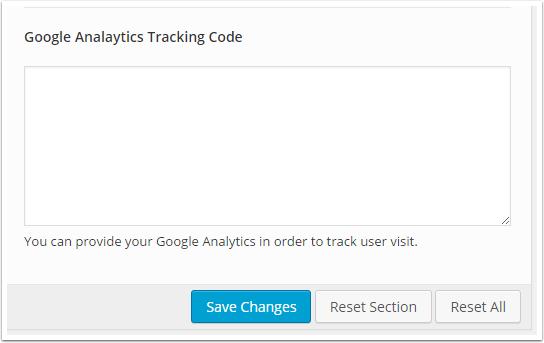
3. Addiing Google Analytics Tracking Code
This field can also be used to execute custom JS script.
Updated less than a minute ago
